Wednesday, November 9, 2011

Baked Bacon

Bacon.  So bad for you and it tastes so good.  When I made breakfast this past Saturday, I decided to try baking the bacon in order to cook it.  I've been hearing/reading a lot about using this method recently and decided to give it a try.  I think it turned out pretty well--the bacon ends up crispy and flat (not crinkly).  Cleanup is also relatively easy since the fat drips onto the foil-lined pan.  Just wait for the fat to harden and then throw the foil away.  I don't really have a good tray with a wire rack, so I used one jelly-roll pan with a wire rack that actually came with my toaster oven.  Since that only held 4 pieces of bacon, I also used a broiler pan for the rest of the bacon.  I put both trays of bacon in the oven at the same time.   

I think what I liked most about this method is you don't have to babysit it like you do when you cook bacon on the stove.  I just put it in the oven for about 30 minutes and checked on it now and then--you don't even need to flip the bacon.  This was nice since I was busy making the french toast and grilled pineapple.

Bacon
Ingredients:
Bacon (duh)

Directions:
Line a jelly-roll pan with aluminum foil to make cleanup easier.  Set a wire rack on the pan so the bacon doesn't sit in fat.  Place bacon slices in a single layer on the rack and bake at 400 degrees for about 25 minutes (depending on bacon thickness and how crisp you like it).  You can even put the bacon in while the oven preheats--the gradual temperature increase will render the fat more slowly and won't shrink the meat as much. 


Tuesday, November 8, 2011

Coconut French Toast with Grilled Pineapple


I must say that I made a delicious breakfast this past Saturday.  I found this recipe in an issue of Cooking Light and decided to give it a try.  I was slightly concerned it might be too sweet for me--I have more of a savory palate as opposed to a sweet one.  But it wasn't too sweet, it was just right.  The original recipe called for light coconut milk, but I used regular coconut milk since that's what I had on hand.  I used 5 (1-inch thick) slices of challah bread (shown below) but you could use whatever you like.  I also made some bacon by baking it in the oven...but that's for another post.

Coconut French Toast with Grilled Pineapple

Ingredients:
3/4 cup coconut milk (light or regular)
1/8 cup sugar
1/4 cup fat-free milk
2 large eggs
5 (1-inch thick) slices of challah bread
Cooking spray
3 (1/2-inch thick) slices peeled pineapple
1/4 cup flaked sweetened coconut

Directions:
1. Combine coconut milk, sugar, fat-free milk, and eggs in a shallow dish, stirring with a whisk.  Working in batches, dip bread in the milk mixture and let stand for 1 minute on each side.

2. Heat a large nonstick skillet over medium-high heat, and coat pan with cooking spray.  Add coated bread slices to pan, and cook for 2-3 minutes on each side or until browned.  Repeat procedure in batches with cooking spray, remaining slices, and milk mixture.

3. Heat a grill pan over medium-high heat.  Add pineapple, and grill for 3 minutes on each side or until well marked.  Chop pineapple.


4. Place French toast on plate and divide the pineapple among the servings.  Top with coconut. 

Monday, November 7, 2011

I Can't Believe It's Butter!

Warning: This is going to be a very picture-heavy post.

In this month's Food Network magazine (which is my favorite food magazine), they had a section on butter.  They discussed different types of butter and making your own different herb butters.  They had a simple recipe for making your own butter and I decided to give it a try.  The only ingredient you need is heavy cream (and a little salt) so I figured, what do I have to lose?  Maybe just a few bucks for the cream.  I was willing to give it a try. 

I bought one pint of cream and used my hand mixer, which is literally about 30+ years old.  I took it from my mom since she doesn't do much baking.  I've used it a number of times and it's still kicking...or churning...or spinning...or whatever.


I put the whole container of heavy cream in a large bowl and mixed on high speed.  First it was just foamy around the edges. 

Within a few minutes it developed into a nice whipped cream with gentle peaks.

A few minutes later it developed into an even thicker whipped cream.

It looked like the above picture for quite a while.  I was beginning to think, "I don't know what's going on, but I don't think this is going to work.  What the heck am I going to do with all this whipped cream?"  Then the consistency started to change a little bit to be less "whipped-cream-y" and slightly more chunky.


It also looked like this for a long time.  My arm was getting tired at this point and I was afraid my poor little old mixer was going to overheat or something!  I don't think it's ever worked for this long before.  I think I was about 15 minutes into the process, even though the magazine article said the whole process should have taken about 9 minutes.  After 15 minutes, mine wasn't looking anything like butter.  

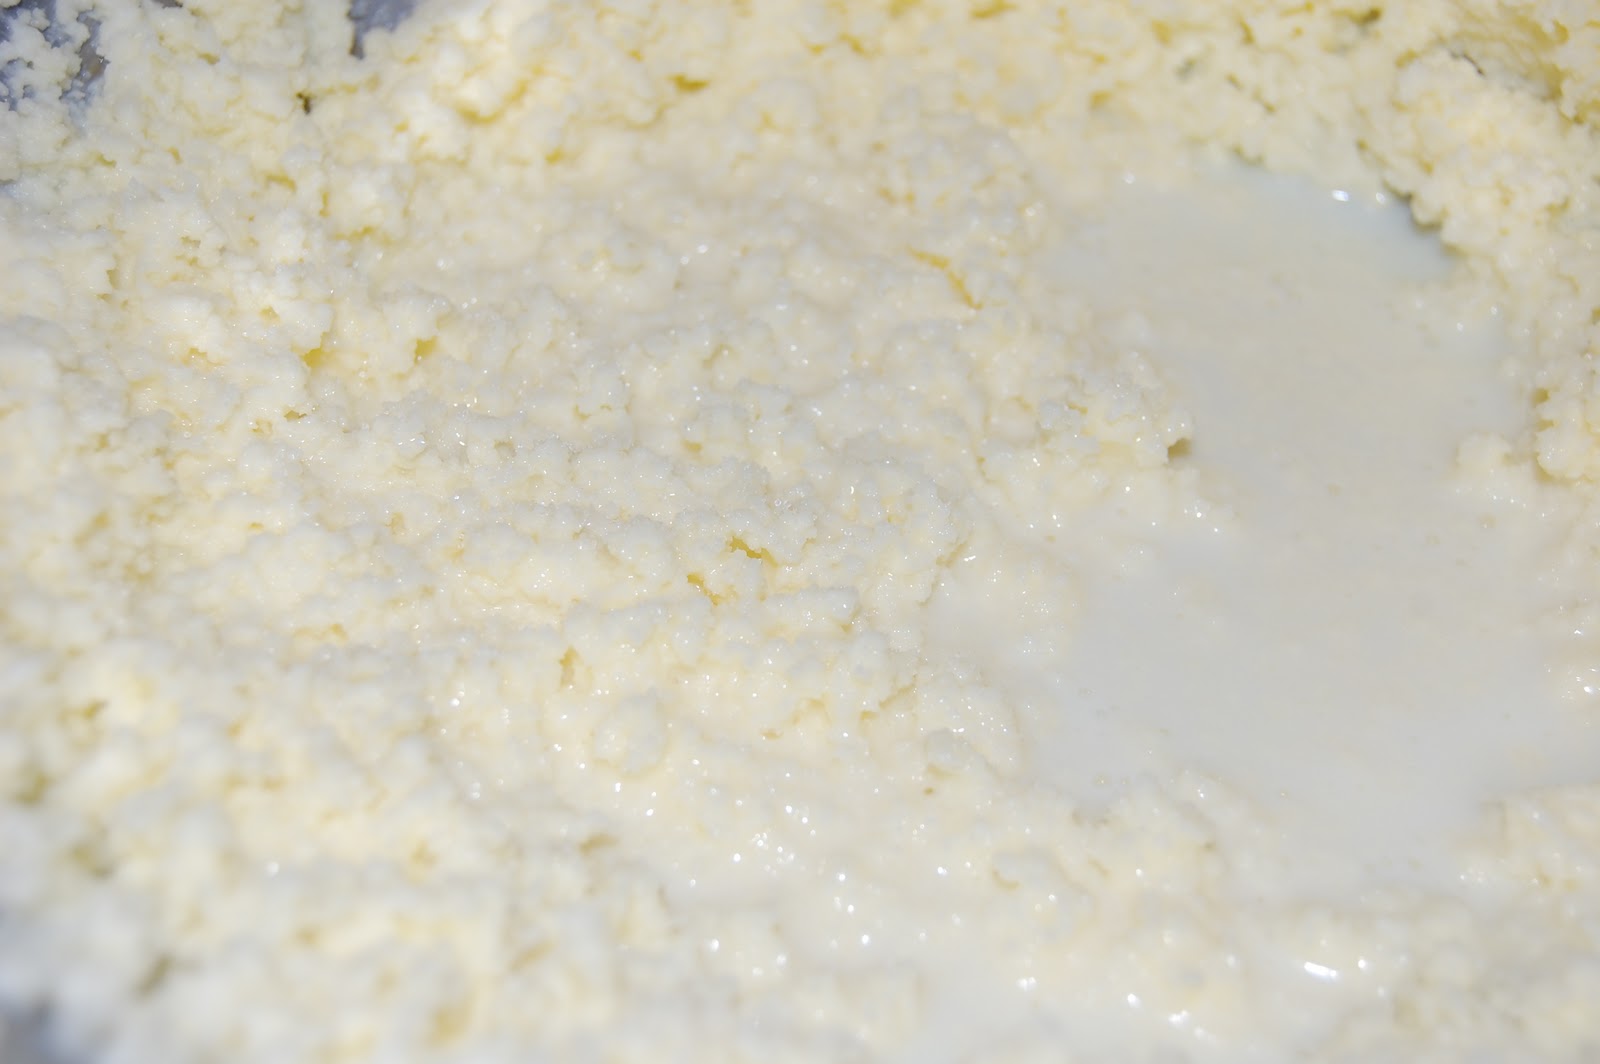
And then, just like magic, the butter started to separate from the liquid!  It was the oddest thing!  


 The more I kept mixing, the more liquid was coming out and the more butter was separating from the liquid. 


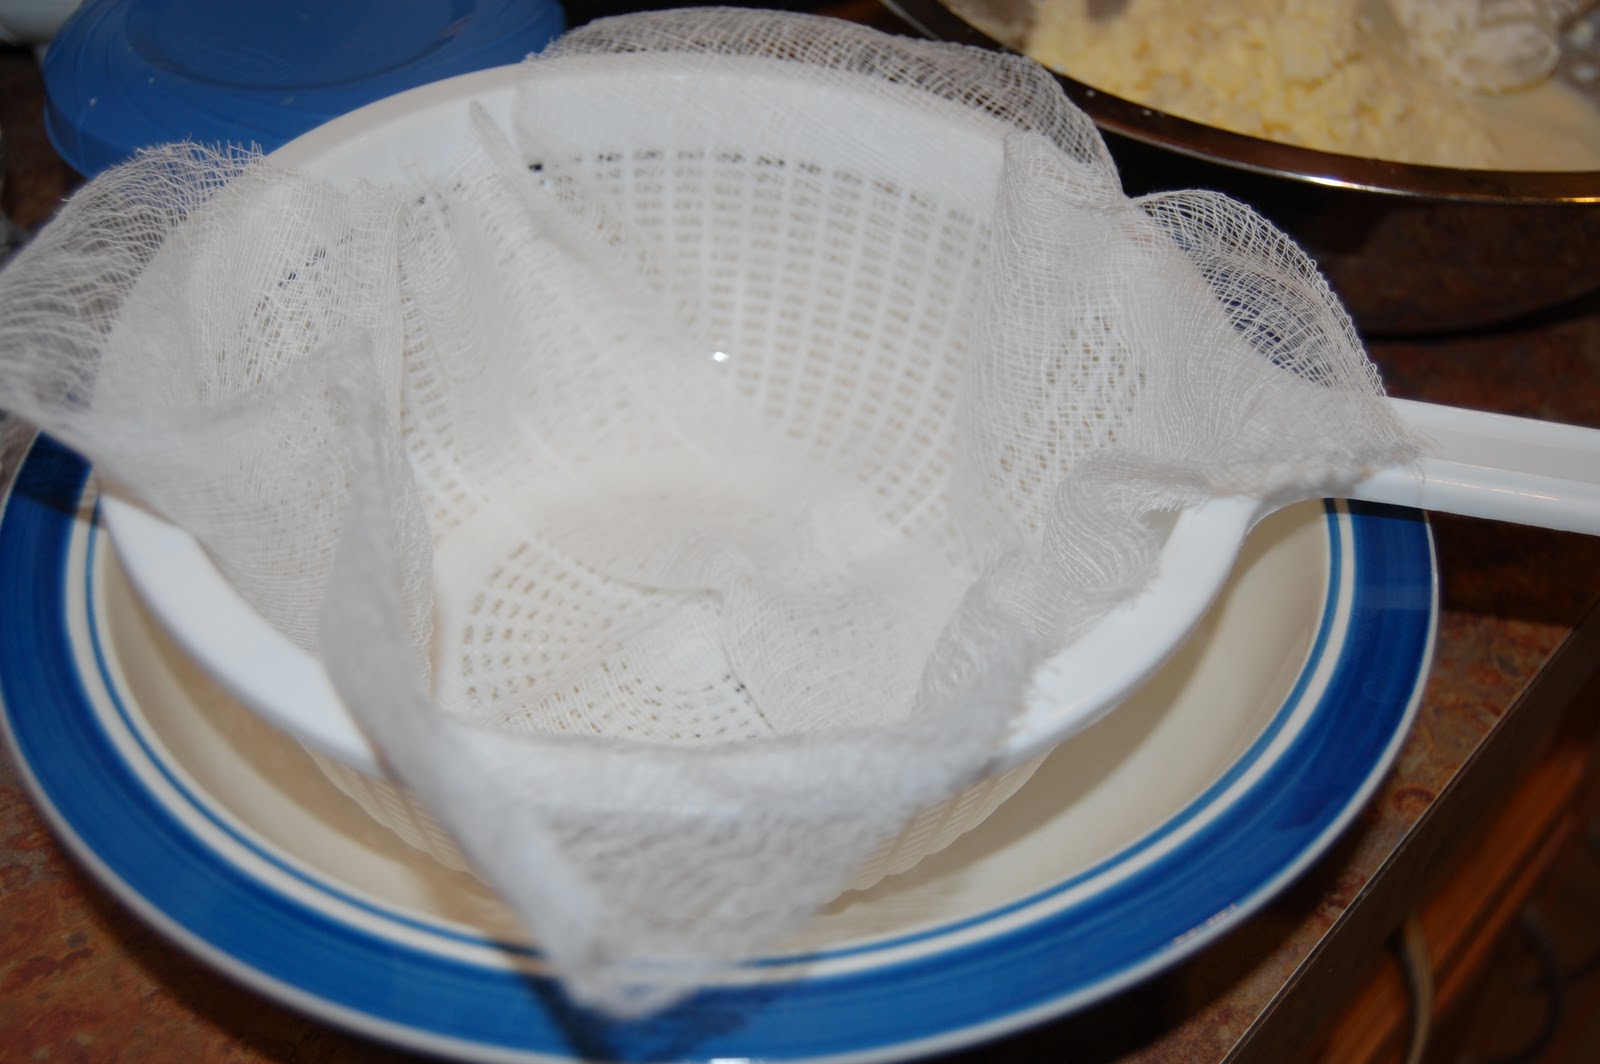
Towards the end, I sprinkled a little salt on it and did one final mix.  Then I lined a strainer with cheese cloth over a bowl.  I poured the contents of my mixing bowl into the cheese cloth, wrapped the cheese cloth around the butter, and lifted up the cheese cloth to let the excess liquid drain.  Then I squeezed the butter in the cheese cloth to get out most of the remaining liquid. 


Voila!  Butter!

So weird!  I still don't entirely get what happened in that process.  It started out a liquid (although the cream was thick), then became creamy, then became more like solid curds (like feta cheese), and then one part liquid (more like a 2% milk consistency, not so creamy) and one part solid.  I was fascinated by the process.

Now for the true test, Mark and I tried to eat it.  I tried it first.  I really had no idea how it was going to taste..I was afraid it was going to be gross.  I tried it on a piece of challah bread leftover from making French toast.  It was actually delicious!  Mark tried it too and he loved it!

Who would have thunk making butter would be such a fascinating process and taste so good?!  The only slight downside to this is that it took me about 20 minutes of holding the mixer and my arm got kind of tired.  My mixing bowl also wasn't super deep, so I got cream all over almost everything.  If you have a stand mixer though, this would be a piece of cake (or a piece of easy, homemade butter?).  You could just put the cream in, and set it to mix for about 20 minutes.  It might even take less time as a stand mixer might be more efficient. 

I would recommend trying this out, I think you'll be delightfully surprised.  I can see myself doing this again some time.  It would be a fun thing to do with kids also.

Friday, November 4, 2011

Chicken Tostadas and Avocado Dressing


Happy Friday everyone!  I'm so glad the weekend is almost here.  I plan to do some grocery shopping today and cook at least one dish this weekend.  Not sure what it's going to be yet, but I'll probably blog about it! 

I found this recipe in the September issue of Cooking Light.  Generally, I think Cooking Light recipes are hit or miss.  I'm debating whether or not to renew my subscription.  In any case, this recipe was a good one. Both Mark and I enjoyed it.  It was really tasty!
Chicken Tostadas with Avocado Dressing
Ingredients:
4 tablespoons reduced fat sour cream
Juice of 1 medium-sized lime
1/4 teaspoon crushed red pepper
1/4 teaspoon salt
1 ripe peeled avocado
1 1/2 tablespoons canola oil, divided
4 (6-inch) corn tortillas
2 garlic cloves, minced
1 jalapeno pepper, minced, with ribs and seeds removed
2 cups cooked, shredded, skinless boneless chicken breast
1 cup shredded iceburg lettuce
1/2 cup chopped tomato
1/4 cup shredded Mexican blend cheese

Directions:
1. Combine the first 5 ingredients in a food processor and process until smooth.
2. Heat a large nonstick skillet over medium-high heat.  Add about 3/4 teaspoon oil to pan.  Cook tortilla 2-3 minutes on each side or until golden brown and crispy.  Repeat procedure with 2 1/4 teaspoons oil (or however much oil it takes) and remaining tortillas. Essentially, you want to pan fry (not deep-fry) the corn tortillas to make them golden brown and crispy.
3.  Add remaining oil to the pan.  Add garlic, and jalapeno; saute 1 1/2 minutes.  Add chicken; cook 2 minutes.  Place 1 tortilla with 1/2 cup chicken mixture, 1/4 cup lettuce, 2 tablespoons tomato, and 1 tablespoon cheese.  Top each serving with 3 tablespoons dressing

Thursday, November 3, 2011

Taco Salad

I used leftovers from the Ground Beef and Bean Tacos to make a taco salad.  I've been really behind on blog posting, so this was from a number of weeks ago.  I basically chopped up some iceburg lettuce, added some shredded cheese, put the taco mixture on top with some salsa and a little bit of ranch dressing.  I also added a few crumbled tortilla chips.  I didn't have any sour cream, otherwise I would have added that too.  It was a pretty healthy way to enjoy some leftovers!

Wednesday, November 2, 2011

October Snow

We got snow this past Saturday!  I watched the weather forecast the day/night before and it seemed like it was going to be a pretty nasty day.  I had planned to go to my friend Tara's house and spend the night because Mark was out of town for the weekend.  I tried to leave on the earlier side since the weather people were saying that it was supposed to be the worst in the afternoon and evening.  Even though I left at about 10:45 AM and it's mostly highway driving, it was a pretty tough drive.  Parts of the highway were quite slushy, so people were going only about 40 mph.  Other times, the snow was coming down pretty hard so it was somewhat difficult to see.  Other parts of the drive were kind of ok.

By the time I got down to where she lives, it was pretty bad and snow was accumulating quickly.  We ended up going out to lunch in her town (less than half a mile away) and my car was slipping and sliding all over the place!  When we finished lunch, we witnessed part of a tree crack and a limb broke off due to the weight of the wet leaves and snow.  We ended up staying in for the rest of the day, which was nice and cozy.  We watched the Sound of Music, which is my all-time favorite movie, ordered in food for dinner and spent a lot of time catching up and talking.  It was fun to have a girls weekend! 

The next day the weather was sunny and clear.  A lot of the snow was melting, even though there was a good amount still on the ground.  We ended up going to this wonderful tea house (which we have been to together once before) called Teaberry's.  I love this place!  They have about 80 different types of tea to choose from and their food is delicious!  They also serve traditional afternoon tea.  I got this turkey sandwich with chai apple butter, thinly sliced Granny Smith apple, cheddar cheese, bacon, and field greens.  It was out of this world!  The bacon was extra crispy, just how I like it.  The flavors were a perfect balance of sweet, salty, and tart (sour).  I forgot to bring my camera this weekend (bummer) so I took a picture of the leftover half at home.

After lunch at the tea house, we did some outlet mall shopping and then I came home.  The drive home was much better than the drive there!  I had such a great and relaxing time, kind of like a mini vacation...thanks to Tara for hosting!

Tuesday, November 1, 2011

Pretty Flowers

This picture is a few weeks old...I'm just getting around to posting it.  Mark had bought these for me on one of his trips to Trader Joe's.  (So sweet!)  I loved them--they were so cheerful!  I think these flowers usually droop pretty quickly, but these ones stayed perky for quite a few days.  I enjoyed having them around!
Related Posts Plugin for WordPress, Blogger...